Printing on the Vandercook
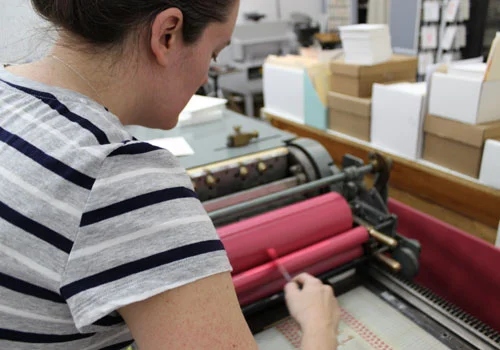
Today Kate has been printing the first color of a wedding invitation on our Vandercook printer. I'm more used to seeing her printing on the Golding Jobber so I was very curious to check out how the Vandercook works!So, for any other letterpress enthusiasts out there, here's a little photographic step-by-step guide to how to print on the Vandercook.
First of all, ink is applied to one of the rollers:

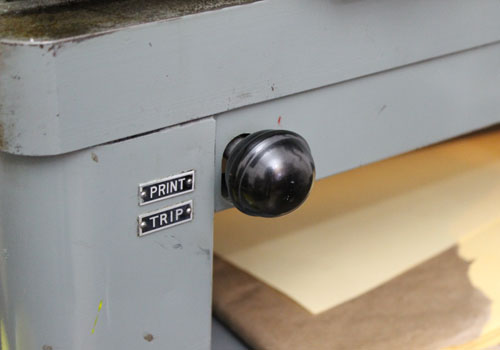
Then Kate ensures that the machine is in "trip" mode. This means that she can ink the rollers without actually printing onto the cardstock.

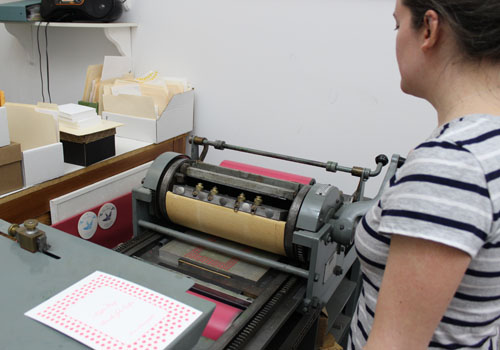
Then she turns the crank so that the rollers are evenly coated with ink:

The rollers are returned to their original position and Kate then switches the machine to "print" mode. This enables the rollers to actually press into the cardstock and transfer the ink and the impression.
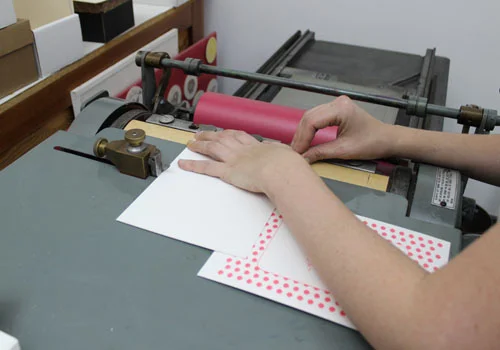
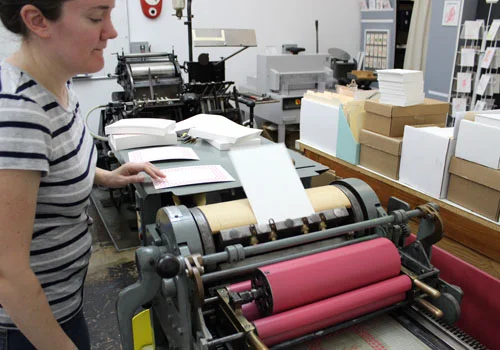
The next step is to carefully place the blank cardstock in the correct place. There are a row of "grippers" which hold the card and also a guide which lines up the card so it is perfectly aligned:

Then it's simply a case of turning the crank! As long as everything is correctly set up, the grippers on top of the rollers will scoop up the card:

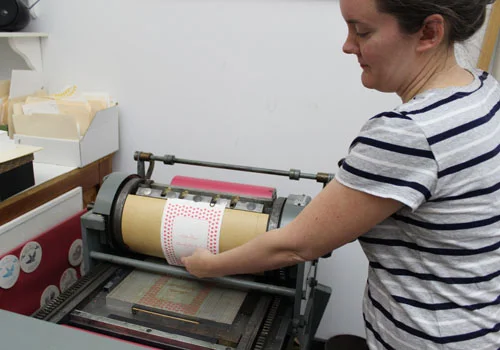
And then the process will continue by rolling the card under the rollers, against the inked plate, leaving behind the inked impression. Then Kate just has to pull the printed item out of the grippers:

And - voila - a finished piece (well, the first color anyway!). It really is amazing to see how many little movements and skilled elements are involved in printing just one color of one piece. It really reminded me of the craftmanship of letterpress printing and the care and attention that goes into the process!
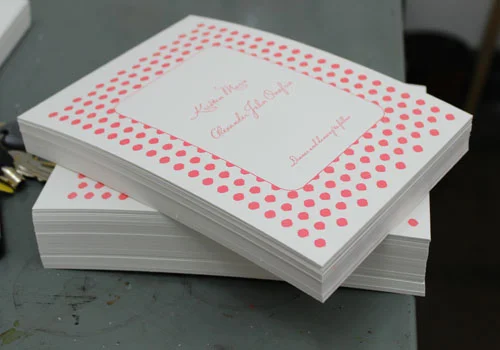
Here's a pile of the invitations ready to have their second color applied:

- Jana